- Posted on
Beyond Ground Lifts: When Isolation Transformers are Essential
While a ground lift switch is an excellent first line of defense for simple hum in microphone cables, it only works by breaking the electrical connection on Pin 1. This does not solve every noise problem encountered in professional environments. In many complex scenarios, you require Galvanic Isolation—a state where two circuits are completely electrically separated and communicate purely through magnetic induction via a transformer.
Capacitive Coupling Interference
This occurs when electromagnetic noise from another source "jumps" across an air gap or insulation between two conductors (like running power cables next to audio lines).
- The Problem: A ground lift breaks physical continuity but does nothing to stop the magnetic/electrical field induction that passes through space into your cable shielding.
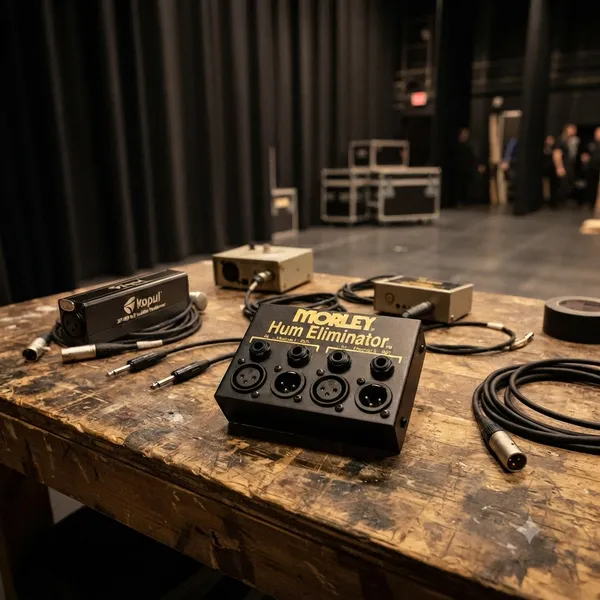
- The Solution: An isolation transformer physically separates both signal and shield wires, using a primary and secondary winding so no electricity can actually jump between them via capacitance or proximity.
High Potential Voltage Differentials in Large Racks
In professional studios with multiple power circuits (e.g., one for lighting/dimmers and another for audio gear), there is often a significant "potential difference" between the electrical ground of two different pieces of equipment, even if they are both correctly grounded to their respective outlets.
- The Problem: A simple switch might break your local loop, but high currents or noise can still travel through shared metal chassis/casing paths in complex interconnected hardware systems that aren't addressed by a single cable lift.
- The Solution: An isolation transformer provides total electrical decoupling between the two pieces of gear, ensuring they are electrically "blind" to each other’s ground potential fluctuations and switching noise from power supplies.
Line Level Complexity & Digital Gear Interfacing
When connecting high-voltage line level equipment or digital interfaces (like a computer's audio output going into an external outboard processor), the signal paths become much more complex than simple microphone lines.
- The Problem: Standard DI boxes are optimized for low voltage; attempting to use them on higher impedance/higher amplitude signals can lead to clipping and insufficient isolation of "digital buzz" caused by high-frequency switching power supplies in computers or digital converters.
- The Solution: A dedicated line level isolator uses heavy-duty transformers designed specifically for these signal levels, providing the robust galvanic separation needed to keep computer noise out of expensive analog hardware processing chains.
👉 Return to RR.COM 👈