
- Posted on
- • People
Professional Boom Operation for Seated Interviews
- Author
-
-

- User
- Rusty Rogers
- Posts by this author
- Posts by this author
-
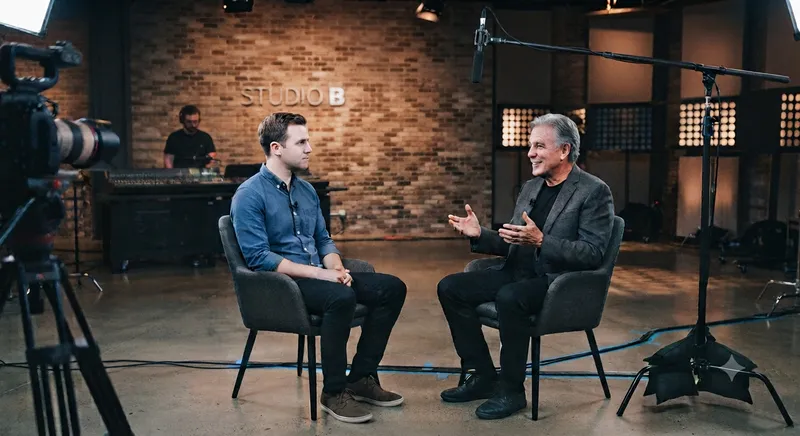
Professional Boom Operation for Seated Interviews
When filming a sit-down interview, the game changes from the "active pursuit" of a handheld boom to the precision of a controlled, static environment. In this setting, the goal is unwavering consistency. You want the microphone to remain in the "sweet spot"—just above the subject's frame line and aimed at the mouth—for the duration of the interview, even if the subject leans back or gestures.
Why 'Stand-Mounted' is King for Interviews In a sit-down scenario, handheld booming is rarely the best choice. Unless you have the superhuman ability to hold a pole perfectly still for 45 minutes, your muscles will eventually fatigue, leading to subtle changes in mic height or angle. Using a boompole holder (cradle) and C-stand is the professional standard because:
- Audio Consistency: Every word is captured at the exact same distance and off-axis angle, making editing and leveling dialogue significantly easier.
- Visual Confidence: You can lock the boom in place, clear the frame, and focus entirely on monitoring audio levels and environmental noise.
- Non-Verbal Focus: Seated subjects often move their heads or lean in to emphasize points; a locked-off boom allows for subtle cradle adjustments rather than fighting pole weight.
The Anatomy of the Interview Setup
The C-Stand and Grip Using professional support gear provides stability that handheld operation cannot match during long takes:
- "Righty-Tighty" Rule: Always ensure the boom holder cradle is on the side of the C-stand knuckle that tightens when the weight of the pole pulls down, preventing slips.
- Sandbagging: Place one 15–25 lb sandbag on the longest leg of the C-stand to provide necessary stability during interviews.
The Boompole Holder (Cradle) Precision placement is key for maintaining that professional "sweet spot":
- Placement: Position the stand behind or to the side of the subject, booming over the top of the camera with a cradle capable of fine angle adjustments.
- Safety Loop: Create a small service loop in your XLR cable at the cradle and secure it with gaffer tape or velcro so an accidental tug doesn't displace the mic position.
Pro-Checklist for Seated Success To ensure professional results, follow this final check before recording:
- The "Shadow" Sweep: Check your camera monitor to ensure a microphone shadow isn't falling across the subject’s face or background walls.
- Distance Calibration: Aim for an optimal distance of 12 to 18 inches from the mouth; any closer risks plosives, while further away loses vocal presence.
- The "Gesture" Buffer: Position the boom high enough that animated hand gestures won't strike it, but low enough to maintain audio intimacy.
- Room Tone: Always record at least 60 seconds of room tone with your stand in its final position for cleaner editing later.
When to Keep Your Hands on the Pole
While stands are ideal for most scenarios, dynamic interviews require an active approach. If a subject is using a swivel chair or moving significantly around the set, you may need to ditch the stand and return to handheld operation; in these cases, keep your movements deliberate and slow to ensure clean audio.
👉 Return to RR.COM 👈