Inside Audio

Deity

All posts tagged Deity by Inside Audio
  • Posted on

    The Secret to Seamless Live Production: Mastering Interruptible Foldback (IFB)

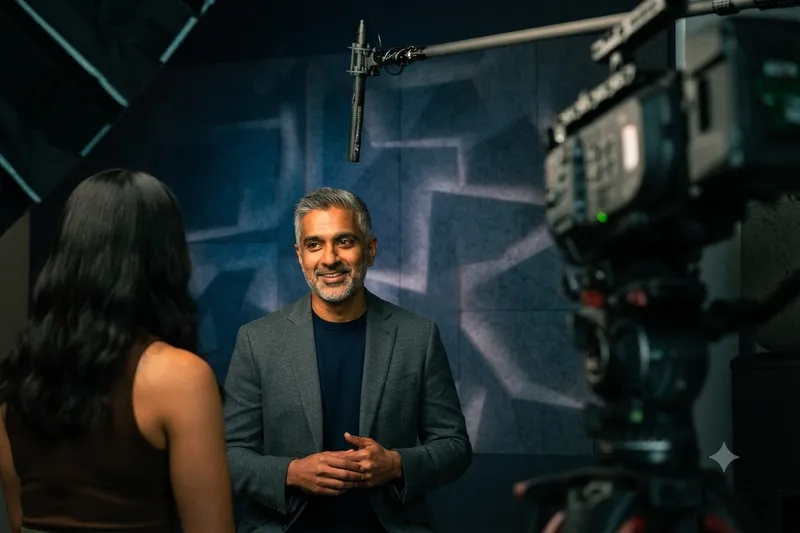
    In the high-stakes world of live broadcasting, filmmaking, and professional event production, communication isn't just about talking—it’s about delivering the right information at the exact right time.

    If you’ve ever watched a live news anchor transition seamlessly from a chaotic breaking story to a calm, direct read, you’ve witnessed the power of Interruptible Foldback, or IFB.

    For those looking to level up their audio workflow, understanding and integrating a professional IFB system is the difference between a production that feels "amateur-hour" and one that runs with military precision.

    What is IFB, Actually?

    At its core, an IFB system is a one-way monitoring circuit designed for on-air talent, presenters, or remote contributors. It provides two distinct layers of audio: (Wikipedia)

    • The Program Feed: Usually a "mix-minus"—a live feed of the program audio that excludes the talent’s own voice (to prevent distracting echoes or feedback). (Grokipedia)

    • The Interrupt (Cue) Signal: The director or producer’s microphone. When they speak, the program feed is automatically "dipped" or muted, allowing the instruction to take priority in the talent’s ear.

    Why Integrate a Professional IFB Workflow?

    If you are currently relying on open-mic communication or inconsistent ad-hoc monitoring, it’s time for an upgrade. Here is why you should prioritize a dedicated IFB chain in your next project:

    • 1. Unmatched Clarity Under Pressure

    When a producer needs to tell an anchor that their segment is being cut short by 30 seconds, there is no room for ambiguity. A proper IFB system ensures that voice instructions are crisp, isolated, and prioritized over the background program feed.

    • 2. Efficiency and Confidence

    When talent can hear the show’s rhythm—and receive timely prompts—they can focus on their performance rather than worrying about timing. This reduces stress, eliminates long pauses, and creates a much more professional, fast-paced broadcast.

    • 3. Modern Flexibility

      • Wireless Reliability: High-quality RF transmission that handles complex, multi-user environments without interference. (Studio Economik)
      • Bluetooth Integration: New systems allow talent to use their own preferred Bluetooth monitoring solutions, removing the need for cumbersome cabling. (Where available)
      • App-Based Control: Remote configuration and frequency management via mobile apps mean you can scan for clean channels and manage your network from your smartphone, saving valuable setup time on set.

    Best Practices for Your Workflow

    To get the most out of your IFB integration, keep these three golden rules in mind:

    • Always Use Mix-Minus: Never send a full program mix back to your talent. If they hear their own voice with even a few milliseconds of latency, they will struggle to speak clearly. Always build a mix that excludes the talent’s microphone.

    • Prioritize Latency: In a live environment, latency is the enemy. Invest in professional-grade gear designed for low-latency transmission to ensure your cues align perfectly with the live action.

    • Test Your "Dips": Ensure your system’s auto-mute or "dip" functionality is tuned correctly. You want the program audio to drop enough so the director is clearly audible, but not so much that the talent loses the "feel" of the live show.

    The Bottom Line

    Whether you are running a local news broadcast, a corporate livestream, or a high-end film production, professional IFB is the bridge between the control room and the talent. By investing in a reliable, flexible system, you aren't just buying gear—you’re buying the insurance that your production will remain tight, responsive, and professional, no matter what happens on set.

    Are you currently using a wireless IFB system in your productions, or are you looking to upgrade from a traditional wired setup?

    👉 Return to RR.COM 👈

  • Posted on
    Beyond the Standard: A Deep Dive into A20-Monarch, BOWTIE, and BF1

    The Butterfly Effect: Comparing Wideband Antennas for Location Sound

    Introduction

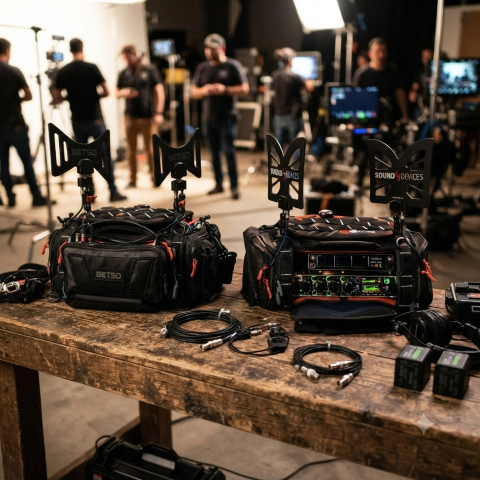
    In the world of location sound, the antenna is your first line of defense. As the RF landscape becomes increasingly crowded—squeezed by spectrum auctions, 5G rollouts, and the constant hum of electronic noise—the choice of hardware mounted to your sound bag has never been more critical. The "butterfly" style omnidirectional antenna has become the industry standard for its portability, durability, and reliable performance. But with options ranging from the ultra-wideband A20-Monarch to the filter-integrated Betso BOWTIE, which one truly deserves a spot in your kit? In this post, we’ll compare the top contenders to help you decide how to keep your signal clean, strong, and interference-free on your next production.

    At a Glance: Comparison Table

    Feature Sound Devices A20-Monarch Betso BOWTIE Deity BF1
    Freq. Range 470 – 1600 MHz 470 – 700 MHz 470 – 1000 MHz
    Inbuilt Filter None Yes (700 MHz Low Pass) None
    Best For Ultra-wideband needs (SpectraBand) High-interference environments Value & broad compatibility

    Key Differences

    1. Frequency Range & Versatility

    • Sound Devices A20-Monarch: The clear winner for frequency range. It is designed to cover the entire SpectraBand range (up to 1600 MHz), making it the most future-proof option if you are using wideband gear that operates outside the standard UHF TV band. (Everything Audio Europe)
    • Deity BF1: Offers a very respectable 470 MHz – 1000 MHz range, which covers virtually all standard professional wireless microphone systems currently on the market. (B&H)
    • Betso BOWTIE: Has the most limited range (470 – 700 MHz). It is specifically engineered for the traditional UHF spectrum. (BETSO)

    2. Interference Mitigation

    • Betso BOWTIE: This is its "secret weapon." It features a built-in 700 MHz low-pass filter. In modern production environments where LTE/5G and other high-frequency signals often cause interference, this hardware filter helps clean up your signal before it even hits your receiver or multicoupler.

    • A20-Monarch & BF1: Neither of these include an integrated filter. If you operate in extremely congested RF environments, you may need to add an external band-pass filter to your signal chain when using these antennas.

    3. Build & Mounting

    • Betso BOWTIE & Deity BF1: Both are rated IP65, meaning they are dust-tight and protected against water jets, making them excellent choices for outdoor field work in varying weather conditions.

    • Mounting: All three utilize standard 1/4"-20 threading, making them compatible with most sound bag mounting hardware. The A20-Monarch and BF1 kits are particularly well-regarded for the inclusion of versatile, high-quality articulating arms in the box.

    Pro-Tip: The Importance of Cable Maintenance

    While we often focus on the antenna's frequency range and gain, your signal is only as good as the cable connecting it to your receiver.

    enter image description here

    Pro-Tip: If you’re using high-quality antennas like these, don't pair them with cheap, high-loss coax. Use RG-174 or RG-316 cables with high-quality, properly crimped BNC connectors. More importantly, keep your cable runs as short as possible. Every foot of cable between your antenna and your distribution system introduces signal loss (attenuation). Even the best antenna in the world will underperform if it's struggling to push a signal through ten feet of poor-quality, poorly shielded cable. Aim to keep your cable runs under three feet for your sound bag setup, and always inspect your BNC connections for signs of strain or corrosion at the start of every production day.

    Which one should you choose?

    • Choose the Sound Devices A20-Monarch if: You are invested in the Sound Devices Astral/SpectraBand ecosystem or require the absolute widest frequency coverage possible (up to 1.6 GHz).

    • Choose the Betso BOWTIE if: You work primarily in busy urban areas or near cellular towers. The integrated 700 MHz filter is a significant advantage for maintaining a clean noise floor in high-interference environments.

    • Choose the Deity BF1 if: You want the best balance of price, performance, and broad compatibility. It is an excellent "workhorse" antenna that handles the standard UHF range (and slightly above) with ease and comes in a complete, ready-to-use kit.

    👉 Return to RR.COM 👈

  • Posted on
    Stop the Sync Struggle: A Look at Affordable Timecode Generators

    Stop the Sync Struggle: A Look at Affordable Timecode Generators

    Timecode generators have moved from being expensive, specialized gear to accessible tools that are essential for any multi-cam or professional sound workflow.

    If you’ve ever spent hours in post-production manually aligning waveforms or clicking through clapperboard claps, you know the frustration. The solution? Timecode.

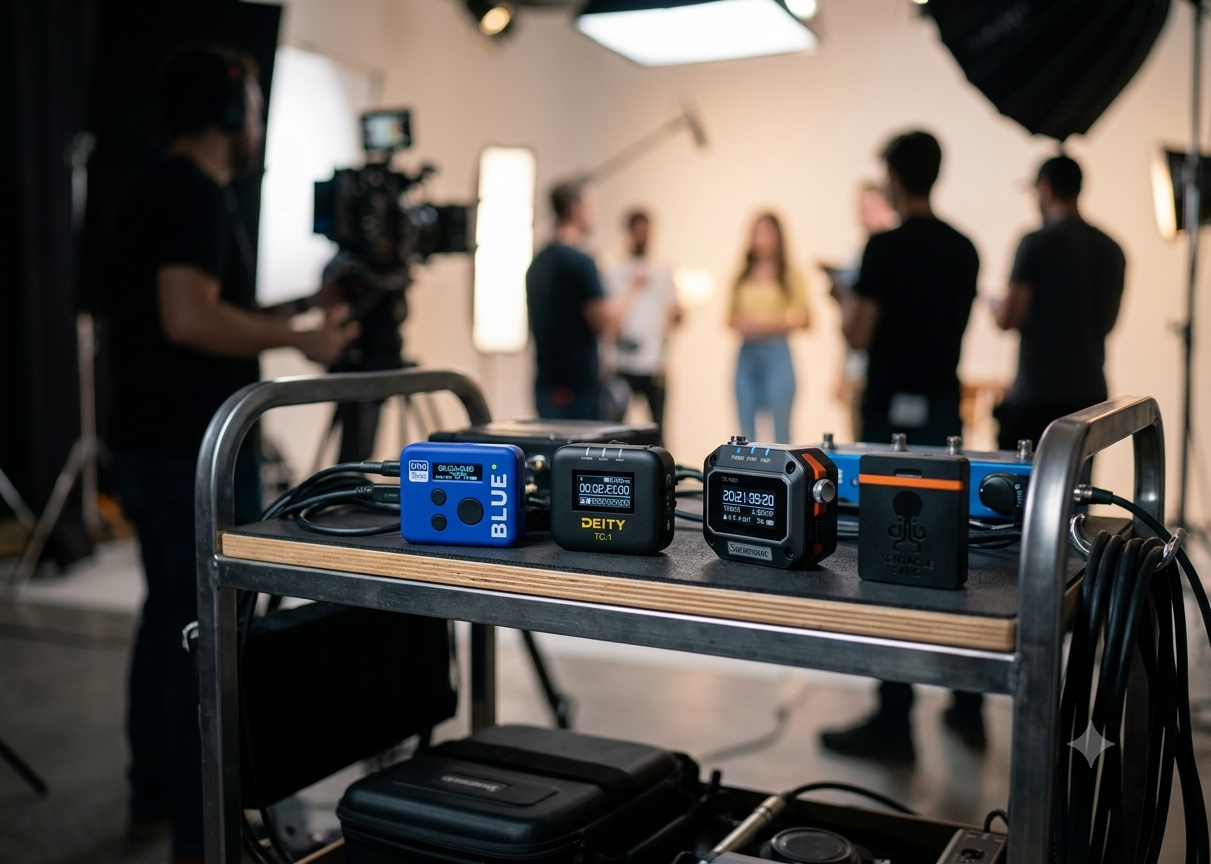
    For years, pro-level timecode sync was a major investment. Today, it’s within reach for the indie filmmaker. We’re comparing four popular, budget-friendly options that will change your editing workflow forever: Deity TC-1, Tentacle Sync E mkII, Atomos UltraSync BLUE, and the Saramonic TC-NEO.

    At a Glance: Quick Comparison

    Feature Deity TC-1 Tentacle Sync E mkII Atomos UltraSync BLUE Saramonic TC-NEO
    Best For Ecosystem Users Reliability & Simplicity Wireless/Mobile Setup Value & Flexibility
    Sync Method RF (2.4G) & Bluetooth Bluetooth Bluetooth RF (2.4G) & Bluetooth
    Display OLED Screen None (App-driven) OLED Screen OLED Screen
    Drift <1 frame/72hrs <1 frame/24hrs <1 frame/24hrs <1 frame/48hrs
    Battery Life Up to 28 hours Up to 50 hours Up to 20 hours N/A

    1. Deity TC-1: The Feature-Packed Powerhouse

    The Deity TC-1 has become a massive favorite because it bridges the gap between pro features and ease of use. It features a built-in OLED screen, allowing you to verify sync status at a glance without needing your phone. Its proprietary RF sync is incredibly reliable, and the Sidus Audio app makes managing a large fleet of units straightforward. (Deity Microphones)

    • Pros: On-device screen, excellent range, robust build, and an expanding ecosystem (including their smart slate).
    • Cons: Slightly larger footprint than the competition. Fiddly wheel and tiny icons are problematic.

    2. Tentacle Sync E mkII: The Industry Standard

    If you talk to professional sound mixers, many will point you to the Tentacles. They are the company that arguably made "budget" timecode popular. They are incredibly small, light, and reliable. While they lack an onboard screen (you manage everything via the app), they are known for their "set it and forget it" reliability and top-tier customer support. (Tentacle Sync)

    • Pros: Proven reliability, industry-standard software, and extremely compact.
    • Cons: No screen on the device; you must rely on the app to check settings.

    3. Atomos UltraSync BLUE: The Wireless Specialist

    The UltraSync BLUE is a different animal. It is designed specifically for a wireless workflow, syncing timecode over Bluetooth to compatible cameras, audio recorders, and apps. It’s perfect for creators using smartphones, mirrorless cameras, or Atomos-enabled gear who want to get rid of cables entirely. (Atmos)

    • Pros: Lightweight, cable-free operation, integrates seamlessly into the broader Atomos ecosystem.
    • Cons: Limited to Bluetooth-compatible devices for wireless sync; you lose some of the "universal" flexibility of hardwired boxes.

    4. Saramonic TC-NEO: The Value Contender

    The newcomer in this group, the TC-NEO is making waves by packing professional features into an aggressive price point. With a solid OLED screen, a rugged design, and a wide array of frame-rate support, it is built to compete directly with the bigger names. It's an excellent choice if you want the "pro" experience without the premium price tag.

    • Pros: Great value, includes multiple cable types, and features a handy onboard screen.
    • Cons: Being a newer player, it lacks the decades of "battle-tested" reputation that Tentacle carries.

    The Verdict: Which one should you pick?

    • Go with the Deity TC-1 if you want an all-around reliable unit with a screen that plays well with other gear (like slates).

    • Choose the Tentacle Sync E mkII if you value a proven, "it just works" system that is small enough to hide on any camera rig.

    • Pick the Atomos UltraSync BLUE if your workflow is mostly Bluetooth-based and you want to avoid cables at all costs.

    • Grab the Saramonic TC-NEO if you are on a tighter budget but still want the convenience of an onboard display and a robust feature set.

    Final Tip: No matter which you choose, the best timecode generator is the one that gets used. Once you start recording locked timecode, you’ll never want to go back to the "clapper-and-waveform" dance in post-production.

    👉 Return to RR.COM 👈

  • Posted on
    Pro Audio on an Indie Budget

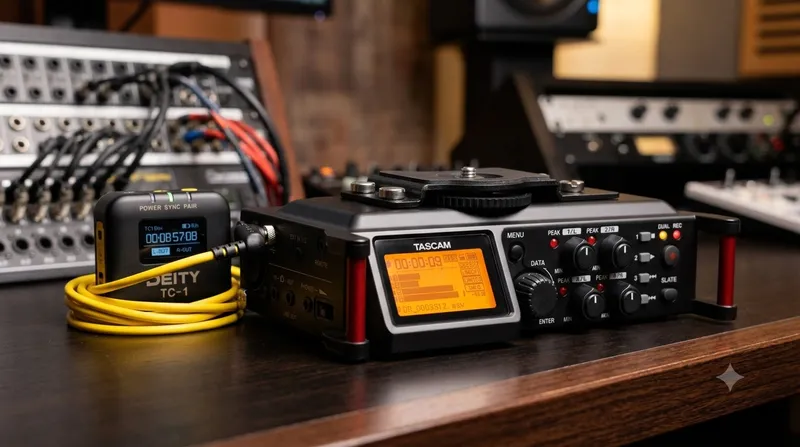
    Pro Audio on an Indie Budget: How to Rig the Tascam DR-70D and Deity TC-1 for Perfect DSLR Sync

    We’ve all been there. You’re shooting on a crisp mirrorless or DSLR camera, the image looks beautiful, but your audio workflow is a total mess. You want the pristine quality of external XLR microphones, but manually lining up clapperboards or relying on “sync by waveform” features in post-production can slow your editing workflow to a crawl.

    If you don’t have thousands to drop on a high-end cinema camera with built-in timecode metadata inputs, don't worry. By combining two affordable workhorses—the Tascam DR-70D and the Deity TC-1—you can build a professional, frame-accurate timecode and multi-channel audio ecosystem for a fraction of the cost.

    Here is how to set up this ultimate budget-friendly filmmaking rig.

    Why This Combo is a Game Changer

    The Audio Muscle: Tascam DR-70D The Tascam DR-70D is a legendary, form-fitting 4-channel field recorder designed specifically to bolt right underneath or on top of your DSLR. (Tascam)

    • Four XLR/TRS Combo Jacks: True professional connectivity for shotgun mics and lavaliers.
    • Great Preamps: HDDA (High Definition Discrete Architecture) preamps give you clean gain with low hiss.
    • Form Factor: It acts as a bridge between your camera and your tripod, keeping your rig tight and portable.

    The Sync Master: Deity TC-1 The Deity TC-1 is a tiny, incredibly smart wireless timecode generator.

    • Audio Timecode (LTC): Because DSLRs and the DR-70D don’t have dedicated BNC timecode ports, the TC-1 converts timecode into an audio signal (Linear Timecode).

    • Zero Drift: It boasts an accuracy that ensures less than 1 frame of drift over a 72-hour period. (Deity Microphones)

    • Sidus Audio App: You can control, sync, and monitor multiple TC-1 boxes right from your phone via Bluetooth. (Newsshooter)

    Step-by-Step Setup Guide

    Because we are working with consumer/prosumer gear, we will be recording Audio Timecode (LTC). This means the timecode will sound like a digital screech on one of your audio tracks, which your editing software will seamlessly translate into perfect visual timestamps later.

    Step 1: Set Up Your Frame Rates Before turning anything on, make sure your camera, your Tascam recorder, and your Deity TC-1 are all set to the exact same frame rate (e.g., 23.976 fps, 24 fps, or 29.97 fps).

    Step 2: Configure the Deity TC-1

    1. Turn on the** TC-1 and open the Sidus Audio App on your phone to sync the time of day.

    2. In the TC-1 menu, navigate to OUT TYPE and select A-OUT (Audio Out / Mic Level). This ensures the signal isn’t too hot for the Tascam's mic inputs.

    3. In the TC-1 menu, navigate to OUT TYPE and select A-OUT (Audio Out / Mic Level). This ensures the signal isn’t too hot for the Tascam's mic inputs.

    Step 3: Connect to the Tascam DR-70D

    1. Mount the DR-70D to your camera and pop the Deity TC-1 into the camera's hot shoe (or hook-and-loop it to the side of the Tascam).

    2. Using the included 3.5mm locking TRS cable, plug the TC-1 into the EXT IN 1/2 jack (or use a 3.5mm-to-XLR adapter into Input 1) on the Tascam DR-70D.

    3. On the Tascam, set that specific channel’s input level to MIC (make sure phantom power is turned off for that channel).

    Step 4: Plug in Your Production Mics

    Plug your actual boom or wireless lavalier microphones into the remaining XLR channels (e.g., Channels 2, 3, or 4). Adjust your gains normally. Channel 1 will strictly be dedicated to recording that digital timecode screech.

    Pro Tip: If you want timecode on your camera's internal scratch audio as well, you can run a 3.5mm splitter from the TC-1, or buy a second affordable TC-1 box to plug directly into your camera’s 3.5mm microphone input.

    Pro Tip: In the Monitor section on the Tascam, disable the channel that is recording Timecode.

    How to Sync It in Post-Production When you wrap your shoot and dump your footage, you’ll have video files from your DSLR and separate multi-track audio files from your Tascam.

    1. Import your footage and audio into your NLE of choice (DaVinci Resolve, Premiere Pro, or Final Cut Pro).

    2. Select your files, right-click, and look for "Read Timecode from Audio Track" or "Update Timecode from Audio LTC."

    3. On the Tascam, set that specific channel’s input level to MIC (make sure phantom power is turned off for that channel).

    4. Click "Sync Clips," and like magic, your external Tascam multi-track audio will perfectly snap into alignment with your DSLR video files.

    The Verdict

    You don’t need an expensive RED, ARRI, or Sony FX6 to experience the speed and efficiency of a professional timecode workflow. For a couple hundred bucks, adding a Deity TC-1 to a Tascam DR-70D completely bridges the gap between indie DSLR shooting and high-end Hollywood workflows. You get the pristine, multi-channel audio control of a dedicated field recorder, combined with the one-click syncing luxury of expensive cinema packages.

    What does your current audio setup look like, and how much time are you spending syncing clips manually in post?

  • Posted on
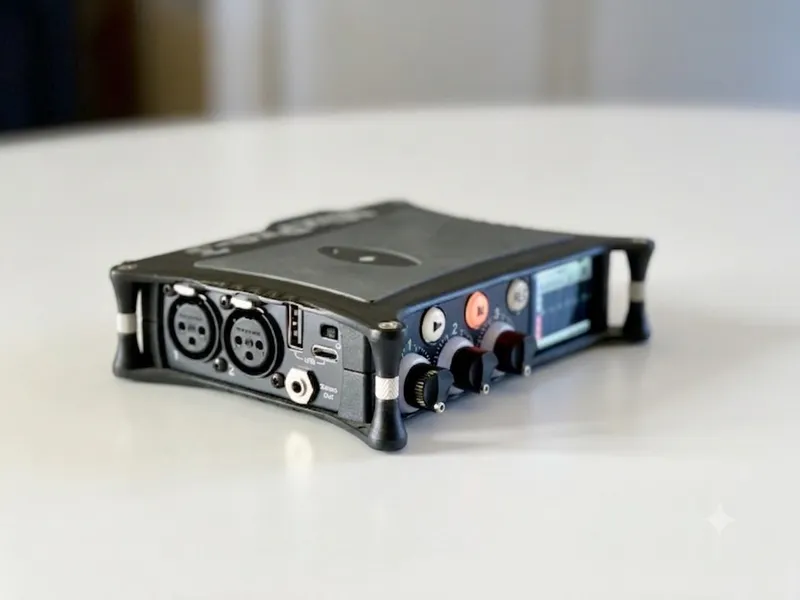
    Deity PR-4 vs. Sound Devices MixPre-3 II

    Battle of the Ultralights: Deity PR-4 vs. Sound Devices MixPre-3 II

    For years, if you wanted professional, "never-clip" 32-bit float audio in a compact package, the industry answer was automatic: get a Sound Devices MixPre-3 II. It’s been the gold standard for run-and-gun filmmakers, podcasters, and sound designers alike.

    But Deity has shaken things up with the PR-4, a six-track field recorder specifically built to challenge that undisputed crown

    If you’re trying to decide between the classic titan and the new challenger, the choice actually comes down to your physical rigging and your wireless workflow. Here is how they stack up.

    The Quick Verdict: Which Should You Buy?


    Choose the Deity PR-4 if: You run a solo or small-crew video rig, use wireless lavaliers alongside a boom, rely on app-based control, and want an all-in-one wireless timecode ecosystem without buying extra hardware boxes.

    Choose the Sound Devices MixPre-3 II if: You require the absolute lowest noise floor for whisper-quiet environments (like nature recording), want full-sized physical gain knobs, and need three dedicated XLR inputs rather than combo/3.5mm compromises.


    The Tail of the Tape: Spec Comparison

    Feature Deity PR-4 Sound Devices MixPre-3 II
    Max Tracks 6 tracks (4 ISOs + Stereo Mix) 5 tracks (3 ISOs + Stereo Mix)
    Physical Inputs 2x XLR/TRS Combo, 1x Stereo 3.5mm 3x XLR
    Preamps / Gain ReGain Preamps (+60 dB) Kashmir Preamps (+76 dB)
    Max Resolution 32-bit Float / 192 kHz 32-bit Float / 192 kHz
    Storage Backup Dual: SD Card + Internal 64GB SSD Single: SD Card only
    Remote Control Sidus Audio App (Bluetooth) Wingman App (Bluetooth)
    Timecode Wired I/O + Native Wireless Sync Wired I/O (BNC / Aux In)
    Power Options Sony NP-F550, USB-C PD, 4-pin Hirose AA sled, Sony L-Mount sled, USB-C
    Price ~$449 ~$895

    3 Critical Differences You Need to Know

    1. The Inputs: 3 XLRs vs. "The Hybrid 4" The MixPre-3 II features three pristine, full-sized XLR inputs powered by legendary Kashmir preamps. They offer an incredible +76 dB of gain, making them capable of driving notoriously "gain-hungry" dynamic mics (like the Shure SM7B) completely clean.

    The Deity PR-4 offers four inputs, but they are split up: two XLR/TRS combo jacks and a stereo 3.5mm jack for channels 3 and 4 (B&H)

    • Why this matters: If you're hosting a 3-person podcast with XLR mics, the MixPre wins. But if you’re a videographer running a boom mic on XLR and a dual-channel wireless receiver (like a DJI Mic 2 or Rode Wireless PRO) via 3.5mm, the PR-4 gives you four clean tracks without needing messy adapters. (CVP)

    2. Timecode & The Wireless Ecosystem Both recorders handle standard wired timecode perfectly. However, the Deity PR-4 pulls ahead for solo shooters by acting as a wireless timecode master hub. Out of the box, it can natively sync timecode over the air to Deity's TC-1 boxes or TC-SL1 smart slates. If your cameras are outfitted with Deity gear, syncing your entire set takes seconds from the Sidus Audio phone app. To get wireless timecode on the MixPre, you have to buy a third-party add-on like a Timecode Systems Bluetooth module. (Sound on Sound)

    3. Redundancy: The "Forgot My SD Card" Lifesaver If you’ve ever formatted a card on set by accident, this feature will resonate with you. The MixPre-3 II records strictly to a single SD card. The Deity PR-4 introduces dual-media recording: it writes your tracks to an SD card and a built-in 64GB internal SSD simultaneously. If your card fails, or if you simply leave it sitting in your computer's card reader at home, the PR-4 still saves your shoot. (Deity Microphones)

    The Usability Factor The MixPre-3 II features beautiful, tactile physical knobs on the front for dialing in your headphone levels or mixes on the fly. The PR-4 relies heavily on its AMOLED touchscreen interface and smartphone app. If you hate digging through digital menus in the field, the MixPre's analog layout remains unmatched.

    Summary The Sound Devices MixPre-3 II remains an absolute boutique audio powerhouse with unmatched preamps, stellar build quality, and a premium price tag to match.

    However, at roughly half the price, the Deity PR-4 isn't trying to beat Sound Devices at the acoustic engineering game—it's trying to out-smart it. By packaging an internal SSD backup, 4-input camera-bag friendly routing, and built-in wireless timecode into a tiny footprint, it's easily the more practical tool for the modern independent videographer.

    Which of these features matters most to your setup—preamp power or built-in backup?

  • Posted on
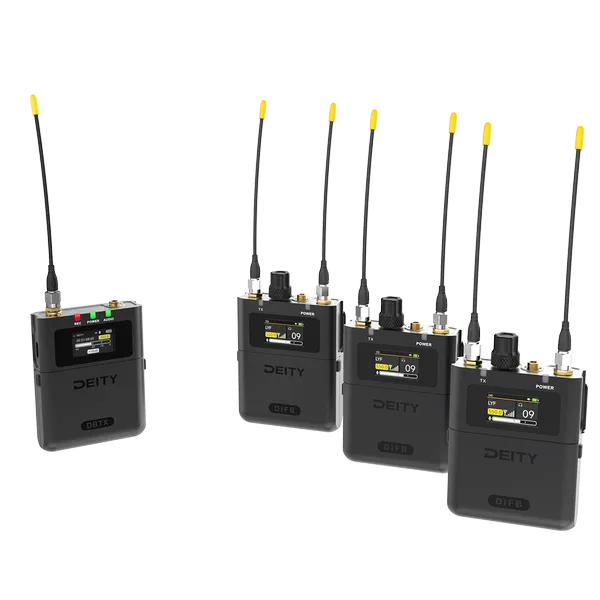
    Deity THEOS DIFB, a Game-Changer

    Sound on Set: Why the Deity THEOS DIFB is a Game-Changer for Wireless Monitoring

    If you’ve ever worked on a chaotic film set, you already know that IFB (Interruptible Foldback) systems are the unsung heroes of production. Keeping the director, script supervisor, and clients tuned into clean, real-time dialogue isn’t just a luxury—it’s vital for a smooth workflow.

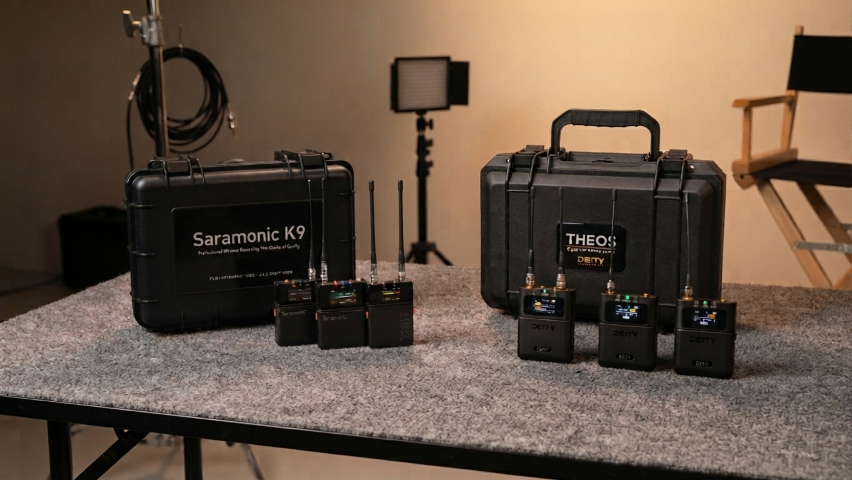
    For years, location sound mixers have had to choose between clunky legacy systems or expensive, high-end monitoring setups. Enter the Deity THEOS DIFB (and its North American counterpart, the HUSH Wireless). Deity has completely shaken up the monitoring game by bringing ultra-wideband digital tech and massive quality-of-life updates to the crew's ears.

    Let’s dive into why this system is quickly becoming a staple in location sound bags.

    1. Global OneBand™ Tech: Total Frequency Freedom

    Navigating local RF laws can be a nightmare, especially for traveling filmmakers. The THEOS DIFB introduces an incredibly wide tunable range of 550MHz to 960MHz.

    The Smart Feature: By syncing with your phone’s GPS via the Sidus Audio app, the DIFB automatically conforms to the local RF regulations of whatever country you just landed in. No more accidental fine-inducing transmissions.

    2. Built for the Reality of Production

    Older IFB receivers often feel like cheap plastic walkie-talkies. Deity built the DIFB with a rugged, full-metal housing meant to survive the inevitable drops and bumps on set.

    But what really sets it apart mechanically is how it handles the user experience:

    • True Diversity Monitoring: Dual SMA ports and dual antennas mean fewer dropouts when a producer wanders behind a grip truck.

    • Top-Facing Metal Volume Knob: Sound mixers rejoice! Your clients no longer have to open a plastic flap just to adjust their volume.

    • Text-to-Speech (TTS) Notifications: Because these units are usually clipped to a belt or shoved in a pocket, the DIFB will literally read out the transmitter's name into the user's headphones when they switch channels. They always know exactly who they are listening to without looking at the screen.

    3. Battery Life That Outlasts the Shoot

    There is nothing more frustrating than a producer tapping you on the shoulder halfway through a day because their monitoring just died. Deity has optimized the power draw on these units significantly:

    Battery Type Expected Lifespan
    AA Up to 15–17 Hours
    -- --
    Alkaline AA Up to 10 Hours
    -- --
    1900mAh NiMH Up to 9 Hours

    Note: The system also includes an ECO Mode to dim the screen and a USB-C port for external power if you're running a permanent video village setup.

    4. Ecosystem Integration and the Sidus Audio App

    The DIFB is built to seamlessly listen in on any Deity THEOS DBTX transmitter. Using the Sidus Audio App, you can manage frequency coordination, perform bulk updates, and handle automatic frequency scans across dozens of units simultaneously.

    The receiver features a 20-frequency bank library, meaning a user can quickly rotate the metal encoder to flip between different sound bags, a director’s mix, or individual talent mics seamlessly.

    The Verdict

    The Deity THEOS DIFB bridges the gap between ultra-expensive rental house gear and budget-tier wireless kits. At roughly $299 USD for a single receiver (or around $1,096 for a 3-pack kit with a transmitter), it offers unmatched flexibility, incredible battery longevity, and rugged build quality.

    If you are looking to upgrade your wireless monitoring workflow, keep your clients happy, and stop stressing about international RF coordination, the DIFB deserves a permanent spot in your audio kit.

    Have you had a chance to deploy the Deity DIFB on your latest shoot? Let us know your thoughts on the Text-to-Speech channel naming in the comments below!