- Posted on
The Difference Between Good and Professional Audio
Two weeks ago, we talked about why bad audio actively destroys your video. We covered the psychology of why viewers notice audio first, the hard costs of poor sound quality, and the common mistakes that sabotage even the most visually stunning productions.
This week, we're going deeper — because "not bad" doesn't equal "professional."
You've probably heard it before: "That sounds good" — and you assume that means professional. But there's a massive difference between audio that's "good enough to watch" and audio that sounds like it belongs in a broadcast-quality production. That distinction matters more than you might think.
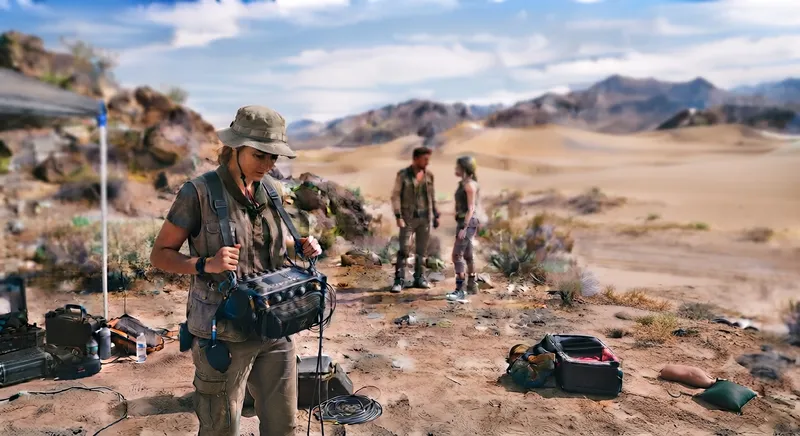 Let's break down exactly what makes audio professional — and why those differences are crucial for delivering work that impresses clients and audiences.
The Audio Quality Spectrum
Where Does Your Audio Fall?
Audio quality exists on a spectrum, and most productions land somewhere in the middle. Here's how it breaks down:
- Amateur: Phone recordings, camera mics with no monitoring, no planning. The audio is distracting and undermines the content.
- Good: Acceptable for casual viewing. Clear enough to understand, but lacks the polish and consistency of professional work.
- Great: Excellent for most consumer applications. Clean, clear, and well-balanced.
- Professional: Broadcast-quality sound. Every element captured with precision, consistency, and technical excellence.
The problem? Most video producers think their audio is "good" when it's actually only "great." They're missing that final tier — professional — where the real magic happens.
The "Good Enough" Trap
Here's why the "good enough" mindset is dangerous: it creates an invisible ceiling for your productions. When you settle for audio that's merely acceptable, you're limiting what your work can achieve. Your audience might not be able to explain why your content doesn't quite land, but they'll feel it.
Professional audio isn't just about sounding clean — it's about creating an immersive experience that makes viewers forget they're watching a recording. It's the difference between content that's watchable and content that's unforgettable.
Professional Audio as a Competitive Advantage
In today's crowded content landscape, professional audio is a competitive differentiator. Clients who hire you for your visual expertise will be impressed when you deliver professional sound as well. Viewers who experience your work will notice — even if they can't articulate why — that something feels more polished, more authoritative, more credible.
When your audio matches the quality of your visuals, you're not just making videos. You're creating experiences.
💡 Good audio gets your video watched. Professional audio makes your video remembered. There's a gap between "good enough" and "professional" that most producers never bridge — and that gap is where you build your reputation.
Technical Differences That Define Professional Audio
1. Frequency Response — What You Hear (and Don't Hear)
Frequency response is the range of sounds a microphone or recording system can capture. Professional audio equipment captures the full spectrum of human hearing — roughly 20Hz to 20kHz. Amateur equipment often falls short, resulting in audio that sounds flat, thin, or muffled.
When you hear a voice recorded with a professional microphone, there's warmth and presence that phone audio simply can't replicate. The voice has body, texture, and clarity that draws the listener in. Amateur recordings often lose the lower frequencies that give voices their character, making everything sound tinny and distant.
Professional mixers understand frequency response and choose microphones specifically for their tonal characteristics. A condenser mic for intimate interviews, a dynamic for loud environments, a shotgun for distance — each is selected for how it captures frequency.
2. Noise Floor — The Space Between Sounds
The noise floor is the background hum or hiss present in any recording. In amateur recordings, the noise floor is often audible, especially during quiet moments when dialogue pauses. That constant background noise becomes increasingly distracting over time.
Professional recordings have ultra-low noise floors that create "silence" that's actually silent. When a speaker pauses, what you hear is true quiet — not a layer of hiss or hum that makes viewers subconsciously uncomfortable.
This matters enormously in post-production. When editors are adding music, sound effects, or transitions, a low noise floor means they can work without fighting background noise. It also means the audio feels more polished and intentional.
3. Consistency — The Invisible Quality Marker
Professional audio is consistent across every take, every location, every scene. Levels don't jump around unexpectedly. Tone remains stable even when mic position changes slightly. The audio feels intentional and controlled.
Amateur recordings often have inconsistencies that distract viewers subconsciously. One take sounds warmer than the next. Dialogue levels vary between subjects. Background noise changes between locations. These inconsistencies don't make viewers angry — they just feel "off."
Consistency is one of those qualities that viewers can't articulate but definitely notice. Professional audio feels reliable and polished. Amateur audio feels improvised and uncertain.
4. Dynamics and Headroom
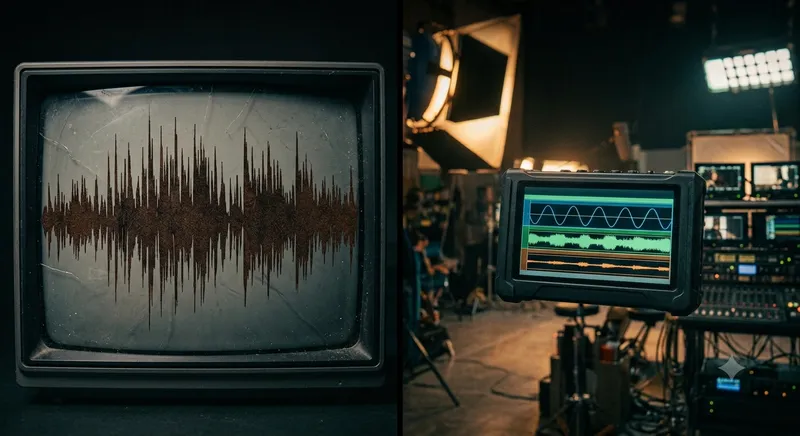
Dynamic range is the difference between the quietest and loudest sounds a recording can capture. Professional recordings preserve the full range of performance without compression or clipping. Amateur recordings often sound "flat" because they're either too compressed (squashing the dynamics) or too hot (clipping on louder moments).
Headroom is the space above your average levels that prevents clipping. Professional mixers record with proper headroom, ensuring that unexpected loud sounds don't distort. This gives editors flexibility in post-production to adjust levels without degrading quality.
When you hear professional audio, there's a sense of life and dimension. The audio breathes. It has natural variation that mirrors real-world sound. Amateur audio often sounds compressed, flat, and lifeless by comparison.
💡 Professional audio isn't just about sounding 'clean' — it's about capturing the full range of sound with precision, consistency, and technical excellence. These qualities are often invisible to viewers, but their absence is immediately noticeable.
The Professional Process Behind the Sound
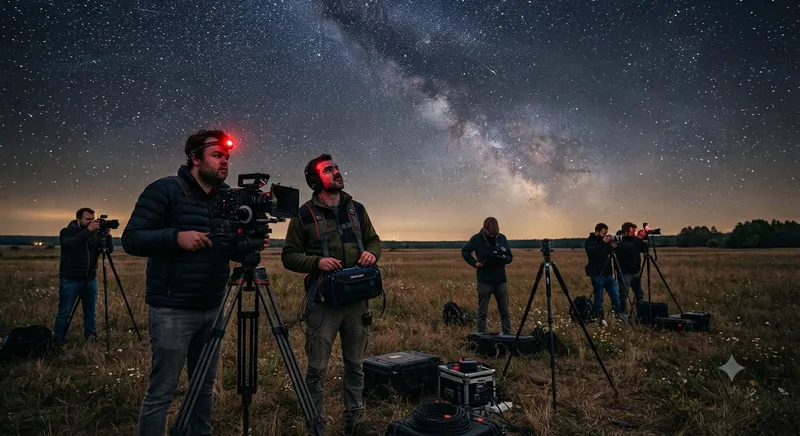
Equipment Selection and Configuration
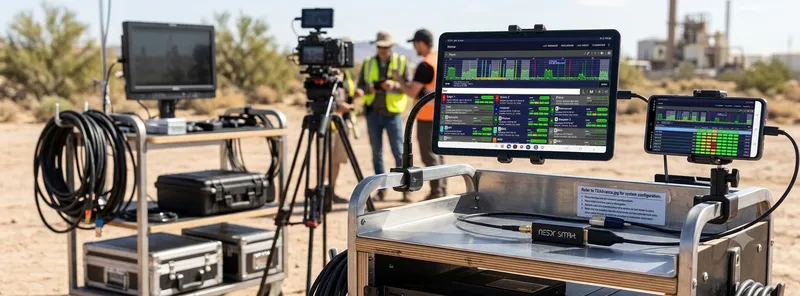
Professional mixers don't just grab the nearest microphone and start recording. They choose specific equipment for specific situations. A small lavalier for a tight interview space. A large-diaphragm condenser for a controlled studio environment. A shotgun mic for distance or outdoor use.
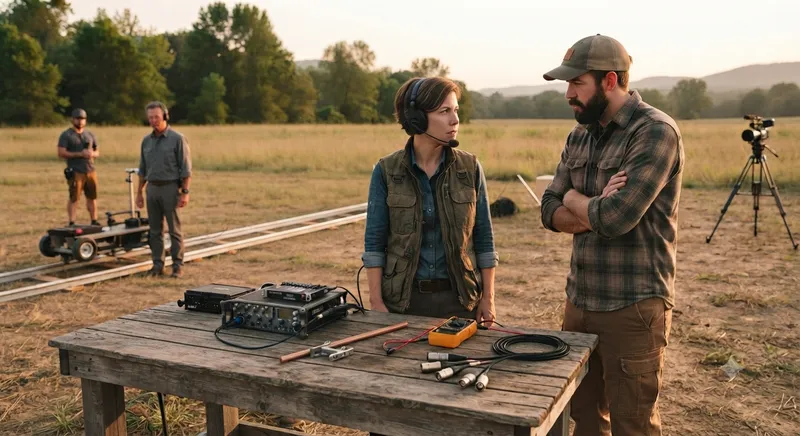
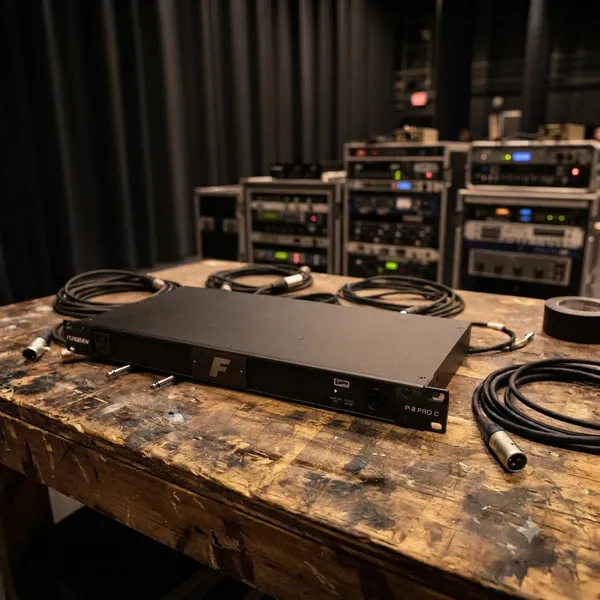
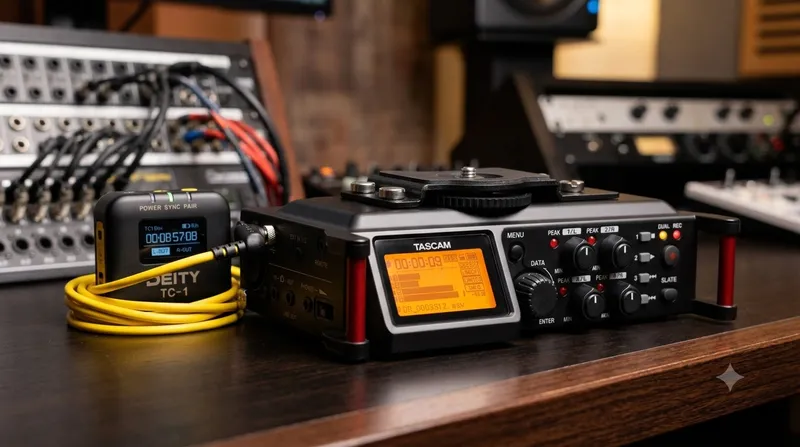
Every choice is intentional. The microphone, the preamp, the recorder, the cables — each component in the signal chain matters. Professional mixers understand how these components interact and configure them for optimal sound quality.
Gain staging is equally important. Setting levels correctly from the source — not just on the recorder — ensures clean audio without noise or distortion. Professional mixers monitor levels continuously and adjust as needed.
Monitoring and Real-Time Decision Making
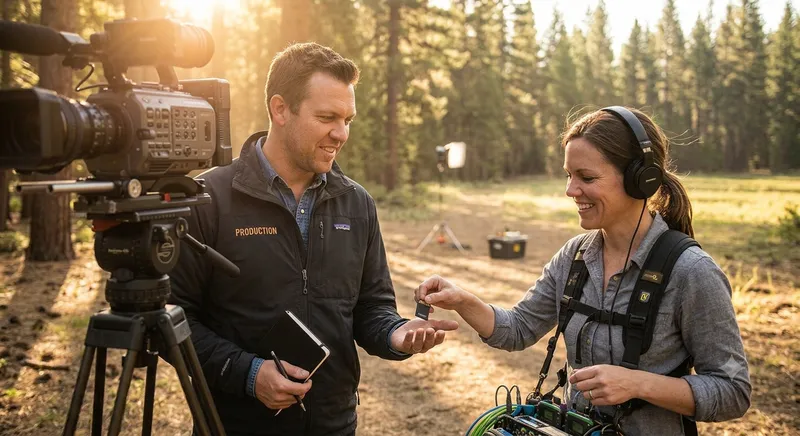
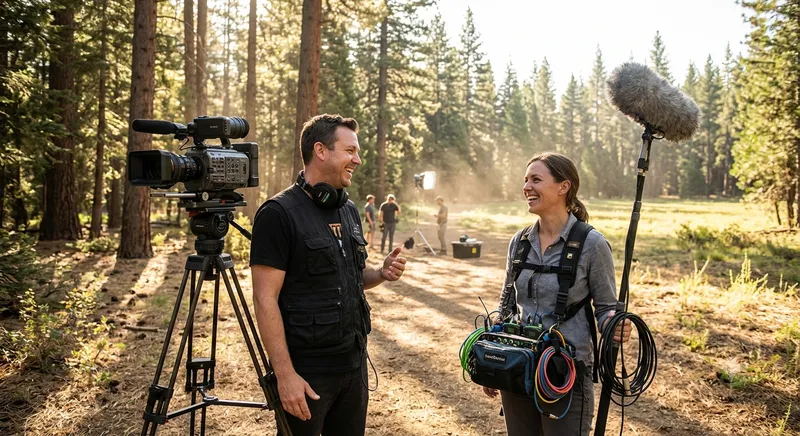
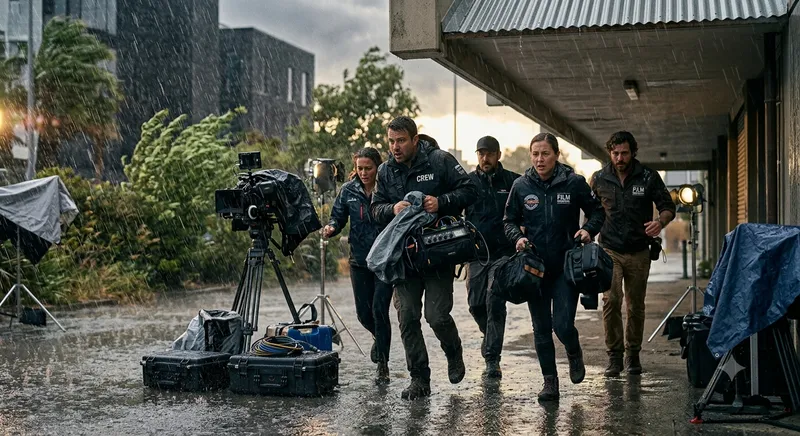
Here's a critical difference between good and professional audio: professional mixers monitor their audio continuously. They wear headphones and listen to every take, every line, every ambient sound. They make real-time adjustments — moving the boom mic slightly, adjusting the lav position, changing filters or levels.
Amateur recordings are often set-and-forget. Someone sets up a microphone, hits record, and hopes for the best. There's no continuous listening, no real-time decision making, no adjustment based on what's actually happening.
Professional mixers are constantly listening and adapting. They notice a plane flying overhead and adjust. They hear a conversation getting louder and move the mic closer. They catch a cable buzzing and fix it before anyone else notices.
Environment Management
Professional sound includes managing the acoustic environment. It's not enough to have good equipment if you're recording in a space that's acoustically challenging. Professional mixers understand how to work with difficult environments.
They position microphones to avoid echo and reflect sound off soft surfaces. They plan shoots around predictable noise — traffic patterns, construction schedules, weather conditions. They know when to move a location, change the time of day, or add sound treatment.
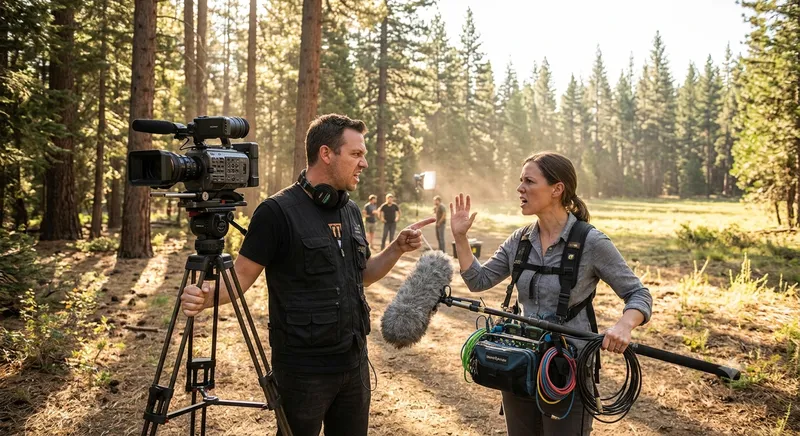
Amateur recordings often ignore the environment and deal with the consequences. A glass-walled office sounds terrible. An outdoor shoot in wind is a disaster. A restaurant with competing conversations is unlistenable. Professional mixers plan for these challenges and solve them before they become problems.
Documentation and Organization
Professional recordings are meticulously labeled and organized. File naming follows a consistent convention. Scene information is documented. Take notes are recorded. Room tone is captured and labeled for every location.
Amateur recordings often lead to headaches in post-production. Files are mislabeled. Scenes aren't documented. Room tone is forgotten. The editor has to spend hours trying to match audio to video, find the right files, and clean up disorganized recordings.
Organization in the field saves enormous time in the edit. Professional mixers know this and treat documentation as part of their craft, not an afterthought.
💡 Professional audio isn't just what you capture — it's everything you do before, during, and after the recording. The process behind the sound is just as important as the equipment used.
Real-World Audio Comparisons
Interview Audio: Phone vs. Professional Setup
Consider a simple interview. Recorded on a phone with the built-in microphone, the audio sounds distant, muffled, and flat. There's background noise from the room, inconsistent levels as the speaker moves, and a thin, tinny quality that lacks presence.
Record the same interview with professional equipment — a lavalier mic properly positioned, recorded through a quality preamp, monitored through headphones — and the difference is dramatic. The voice has warmth and clarity. Background noise is minimized. Levels are consistent. The speaker sounds authoritative and engaged.
Viewers might not be able to articulate why the professional audio is better, but they'll feel it. The professional audio creates trust and credibility. The phone audio creates distance and doubt.
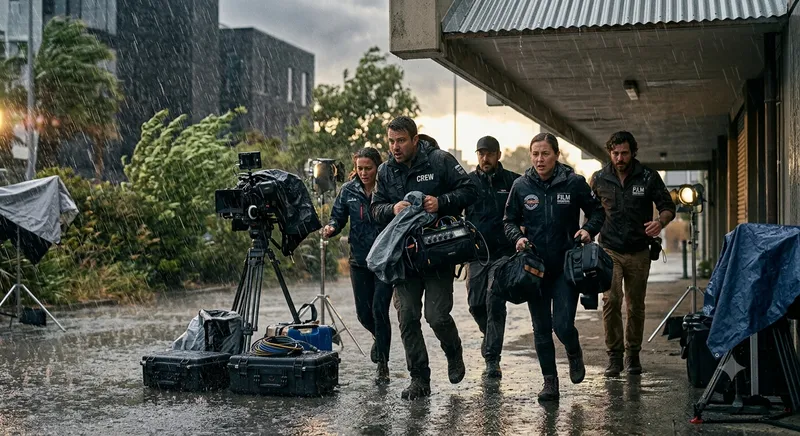
Dialogue in a Challenging Environment
Imagine filming dialogue in a restaurant. The amateur approach: set up a camera, hope the audio works, and deal with the competing conversations and clinking dishes. The result is muddled, inaudible dialogue buried under ambient noise.
The professional approach: use directional microphones positioned close to the speakers, employ wind protection and noise reduction techniques, plan seating to minimize competing noise, and monitor everything through headphones. The result is clear dialogue that cuts through the environment.
The impact on storytelling is enormous. In the first case, viewers struggle to hear and understand. In the second, they're immersed in the conversation without distraction.
The Post-Production Difference
Professional audio makes editing easier and faster. Clean dialogue means editors can focus on pacing and storytelling, not on cleaning up terrible recordings. Consistent levels mean the mix balances naturally. Low noise floor means music and effects sit perfectly in the mix.
Amateur audio often requires hours of noise reduction, EQ, compression, and other fixes. Editors spend more time salvaging recordings than telling stories. The final product suffers from the time and effort invested in fixing problems that could have been prevented on set.
💡 The difference between good and professional audio becomes most apparent in real-world situations. When the environment is challenging, professional audio doesn't just survive — it thrives.
How to Tell if Your Audio is Professional
The Listener Test
If viewers can't articulate what's wrong with your audio but feel something is "off," it's not professional. Professional audio should be transparent — it enhances without drawing attention to itself. The best audio makes viewers forget they're listening to a recording.
Ask yourself: when people watch your content, do they notice the audio, or do they just experience the story?
The Edit Test
Does your audio edit smoothly? Are levels consistent across cuts? Can you add music and effects without fighting the source audio? If yes, you're closer to professional. If no, there's work to do.
The Client Test
Does your client praise the audio as much as the visuals? Do they notice the production quality or just the content? Client perception is the ultimate measure of professional audio. When clients can't distinguish between good and professional audio, they won't understand why they should pay more for it.
💡 Professional audio is the kind of audio that makes you forget you're listening to a recording. It's transparent, consistent, and enhances every element of your video without drawing attention to itself.
Bridging the Gap to Professional Audio
What You Can Do Now
If you're producing video and want to elevate your audio, start with these basics: always monitor your audio through headphones, check your levels before recording, and capture room tone at every location. These simple steps move you closer to professional quality.
When to hire a professional sound mixer depends on your project. For client work, commercial productions, and any project where audio quality affects your reputation, the investment in professional sound pays dividends. When the cost of fixing audio in post exceeds the cost of getting it right on set, it's time to bring in expertise.
When to Invest in Professional Sound
The difference between good and professional audio isn't just about sounding better — it's about delivering work that stands out, impresses clients, and creates memorable experiences for viewers. Professional audio is an investment in your reputation and your ability to command premium prices for your work.
Understanding the difference between good and professional audio is the first step. Taking action to achieve professional audio is the next.
Ready to Elevate Your Audio from Good to Professional?
Professional location sound isn't just equipment — it's expertise, process, and attention to detail. It's the difference between audio that's acceptable and audio that elevates your entire production.
Let us handle the audio so you can focus on the visuals. [Book a Consultation] and let's discuss your next project. Or [Request a Quote] to get pricing for your specific production needs.
Missed Post #1? Read [Why Bad Audio Kills a Great Video] to understand why audio quality matters more than you think.
What's the biggest audio challenge you've faced on set? Share in the comments below — we're all learning together.
Coming next: [What Is a Location Sound Mixer and Why You Need One] Subscribe to the "Sound Like a Pro" series so you don't miss it. Available November 7, 2026.
Have a production coming up that needs professional sound? [Contact Us] today and let's make your next project sound exactly as intended.
👉 Home 👈
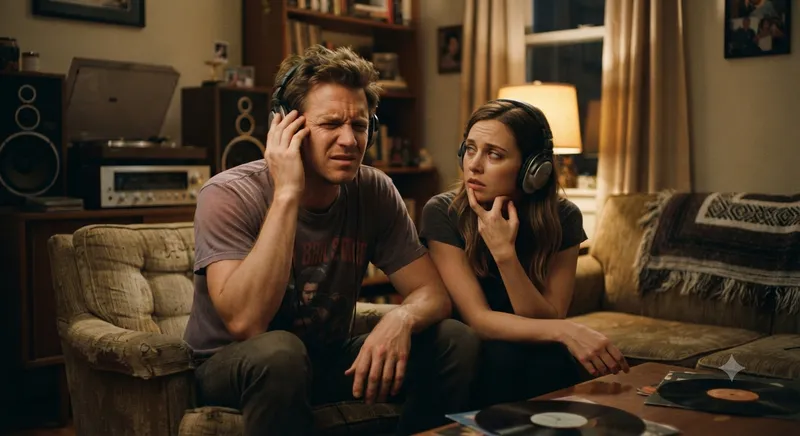
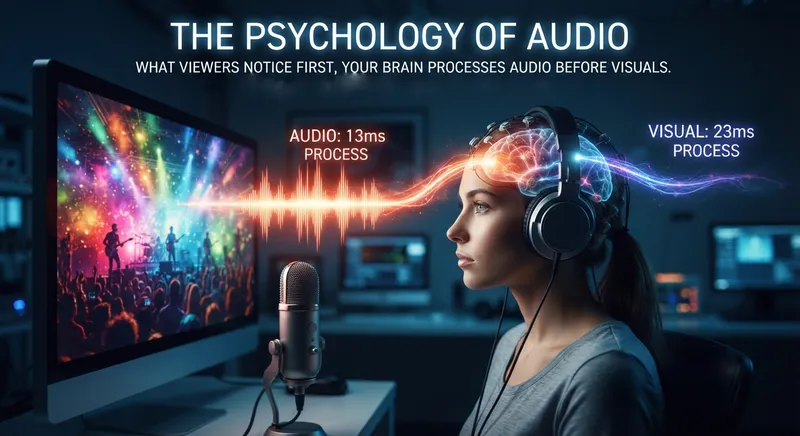
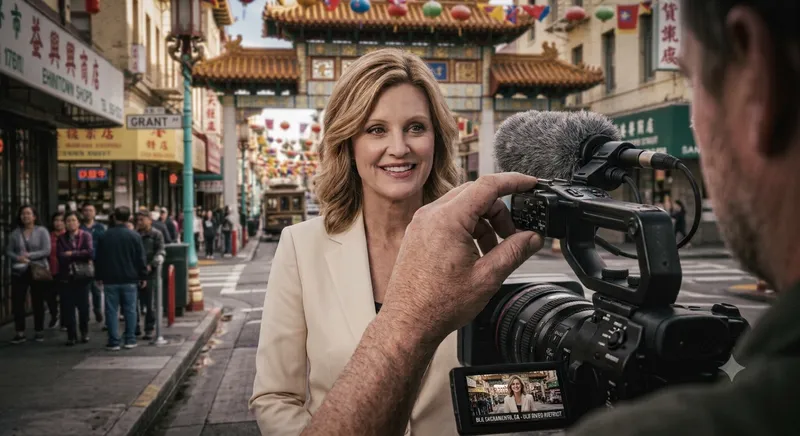
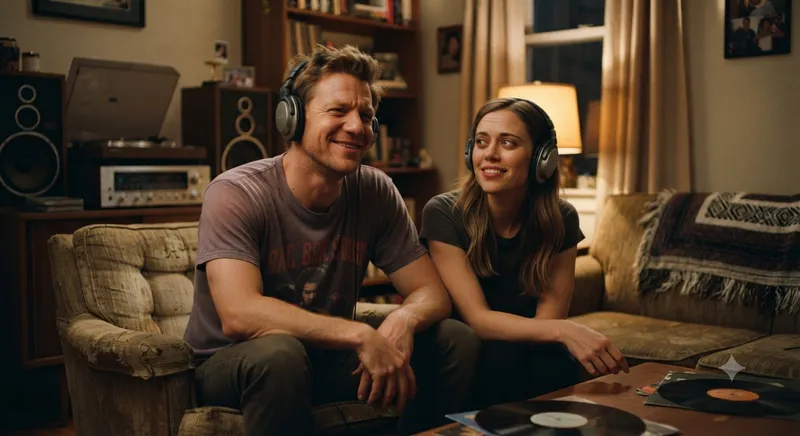 With professional location audio, your dialogue is clear and consistent. Your ambiences ground the viewer in the story. Your music sits perfectly in the mix. And your audience experiences your content the way you intended — without distraction, without frustration, without doubt.